
Updated February 2020!
The Avery Easy Merge add-in makes it quick and easy to create labels, cards and name tags using an Excel spreadsheet. The information in your list is merged into Avery Design & Print Online, where you can format and print your project. At this time we only support 8.5” x 11” products which are available in the US and Canada.
This add-in depends on additional services and accounts:
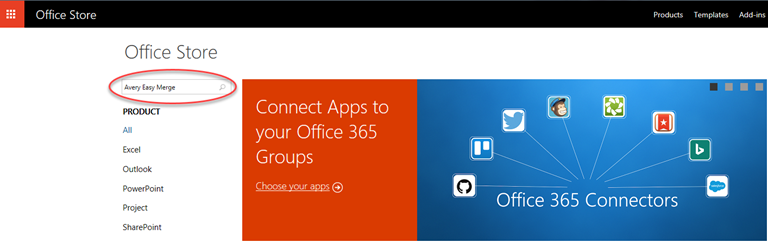
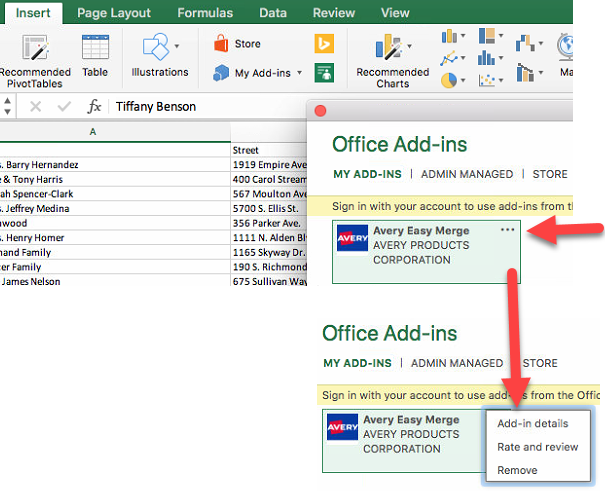
The add-in can be downloaded from the Microsoft Office Store at store.office.com. Search for "Avery Easy Merge".
Select the add-in and follow the instructions to install. Once the add-in is installed in Excel, you can find it under Home tab > Avery Easy Merge.
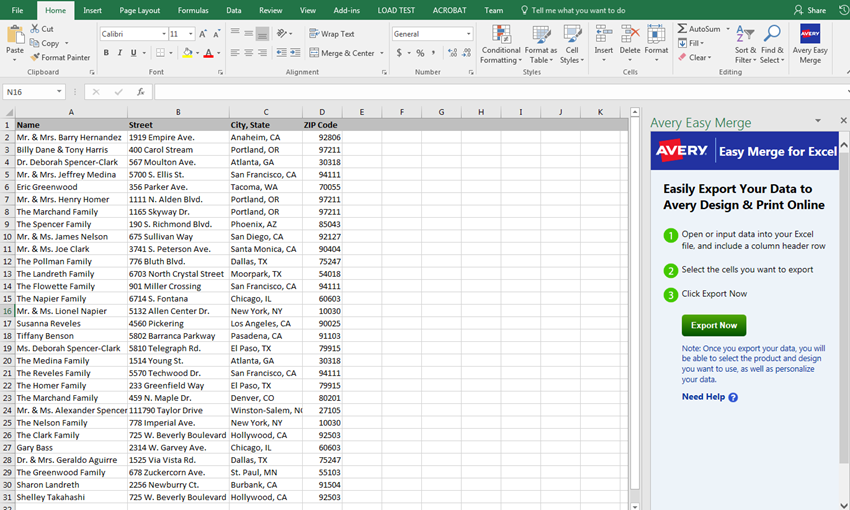
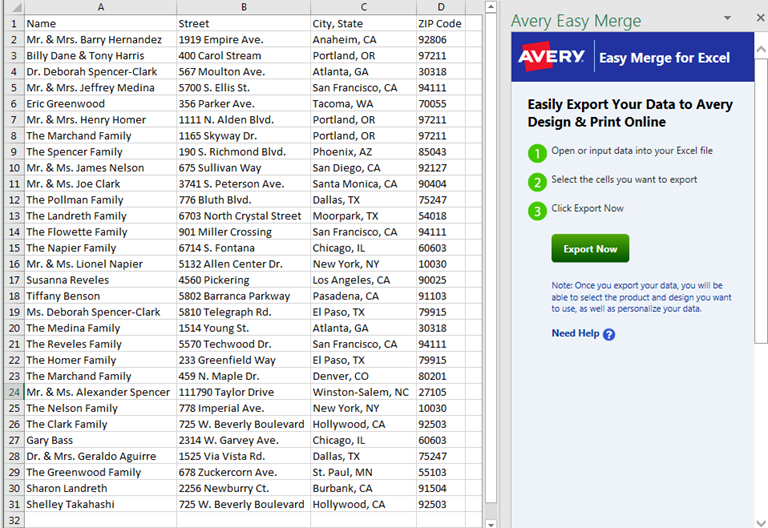
Your data should be organized in columns in Excel as shown below. The maximum number of columns is 20 and the maximum number of rows is 3,000. Click Export Now to get started.
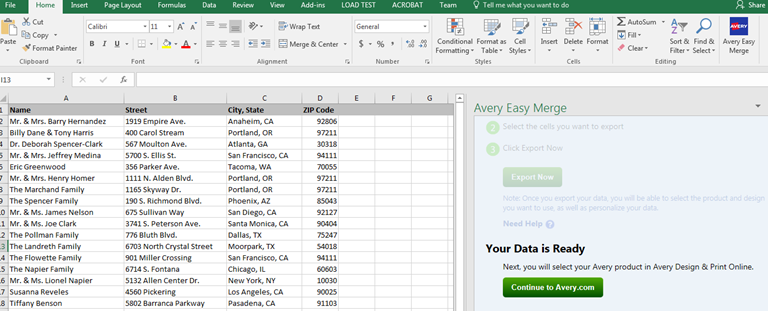
Once your data has been processed, click Continue to Avery.com.
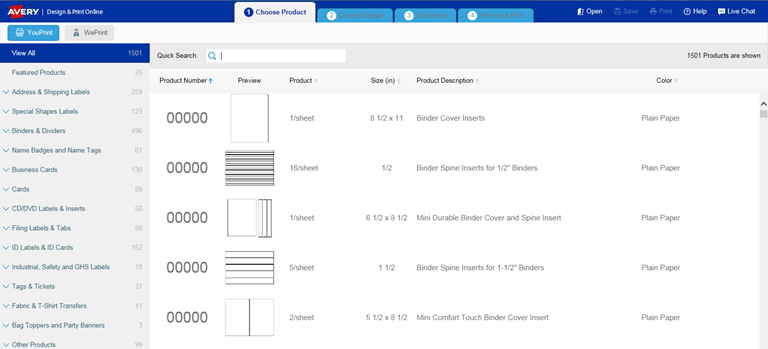
Next, enter your Avery product number in the Quick Search window or browse by product category on the left.
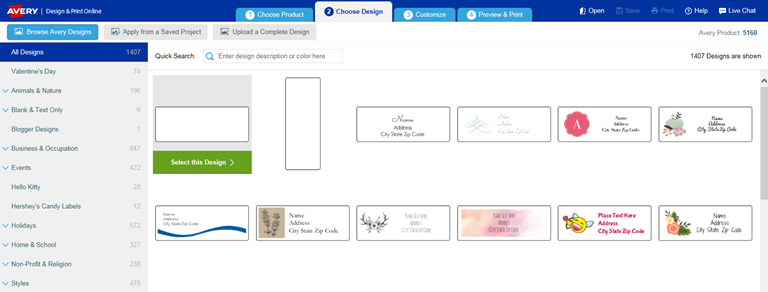
Click Select this Design on the blank or pre-designed template you’d like to use.
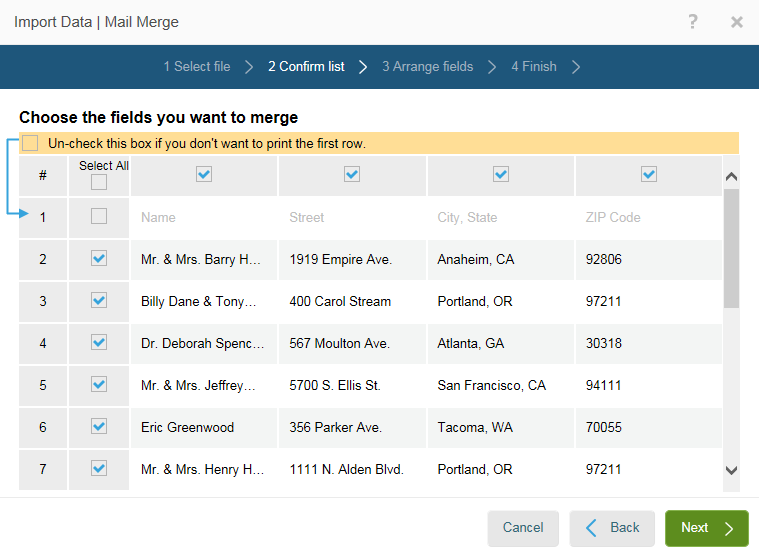
You should then see the information from your Excel file. Deselect any rows or columns you don’t want to include. If your spreadsheet includes a header row, be sure to deselect that row. Click Next.
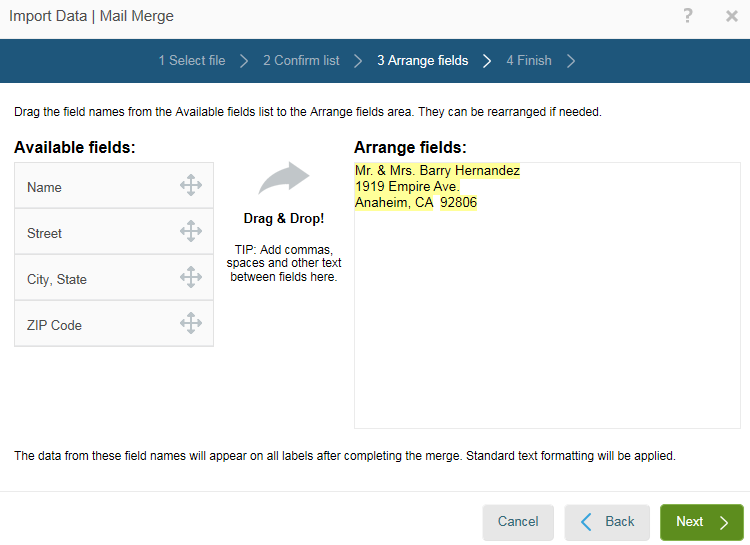
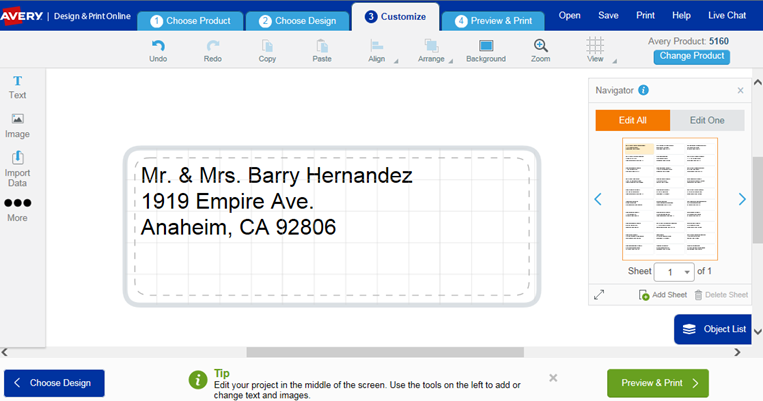
Drag and drop or double-click your data fields on the left to arrange them in the order you want. Click Next.
Now you will be able to edit your text and customize the placement, font size and style. Make changes to the whole sheet at once using the Edit All tab in the Navigator on the right side of the screen. If you want to make changes to individual labels or cards, switch to Edit One. When you’re satisfied, click Preview & Print.
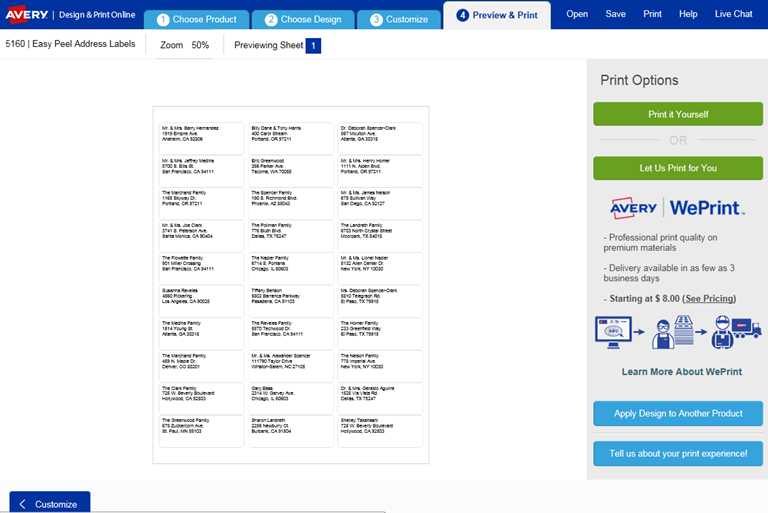
If your project looks good, you can choose to Print it Yourself, or some Avery products can be custom printed by our WePrint professional printing service by clicking Let Us Print for You.
Click Print Now.
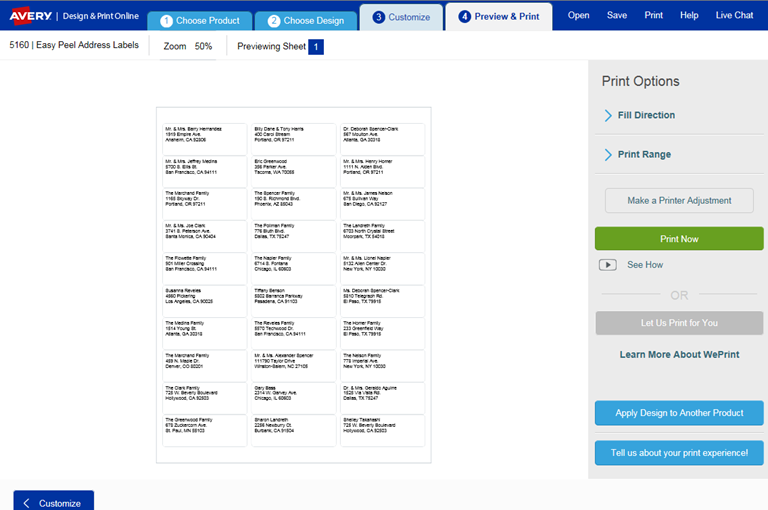
A pdf will be generated. Follow the instructions for successful printing.
 Print
Print